The hiking season is sneaking up on us quickly here on the east coast - are your hiking boots ready for muddy trails and soggy bogs? Throughout Newfoundland and Labrador, our hiking trails very greatly, but one thing they all have in common is water. From brook crossings to bogs to beaches, water is a hard thing to avoid while hiking in this province.
Disclosure: There are some affiliate links below, for which commissions are paid, but these are all products I highly recommend. I won’t put anything on this page that I haven’t verified and/or personally used.


You spent good money on waterproof hiking boots, protect your investment by doing regular maintenance to ensure they are ready to hike when you are!
Regular Hiking Boot Maintenance
~ Clean boots after each hike - remove the laces and rinse with fresh water, scrubbing off any mud or debris.
~ Dry them thoroughly - Remove the insoles, open the tongues and place upside down in a warm place to dry. Avoid placing near direct heat (baseboards etc.) as the high temp can crack leather over time and weaken the adhesives that keep everything together.
~ Store properly - For extended storage, place in a dry, room temperature environment.
~ Maintain waterproofness - Most folks can get away with pre and post season waterproofing treatments, but if your an avid hiker, you will have to apply a waterproofing treatment more often. Do it as soon as you notice the water stops beading on the uppers.


If you’re noticing that water isn't beading on boot uppers or your boots are getting soggy, re-waterproofing is EASY and can be done for under $20! Below are all the steps to get your hikers in tip top shape for spring hiking. Ready?
6 Steps to Re-Waterproofing your Hiking Boots
1 - Remove laces and insoles - Pull out your insoles (if you can) and remove your laces. While your laces are out, inspect them for wear spots or fraying and replace as needed.
2 - Clean your boots - With your hand inside the boots, run them under the tap, to rinse off all the mud, grim etc. Then use a scrub brush with a boot cleaner or mild dish soap to get in all the cracks and seams to remove any residue.
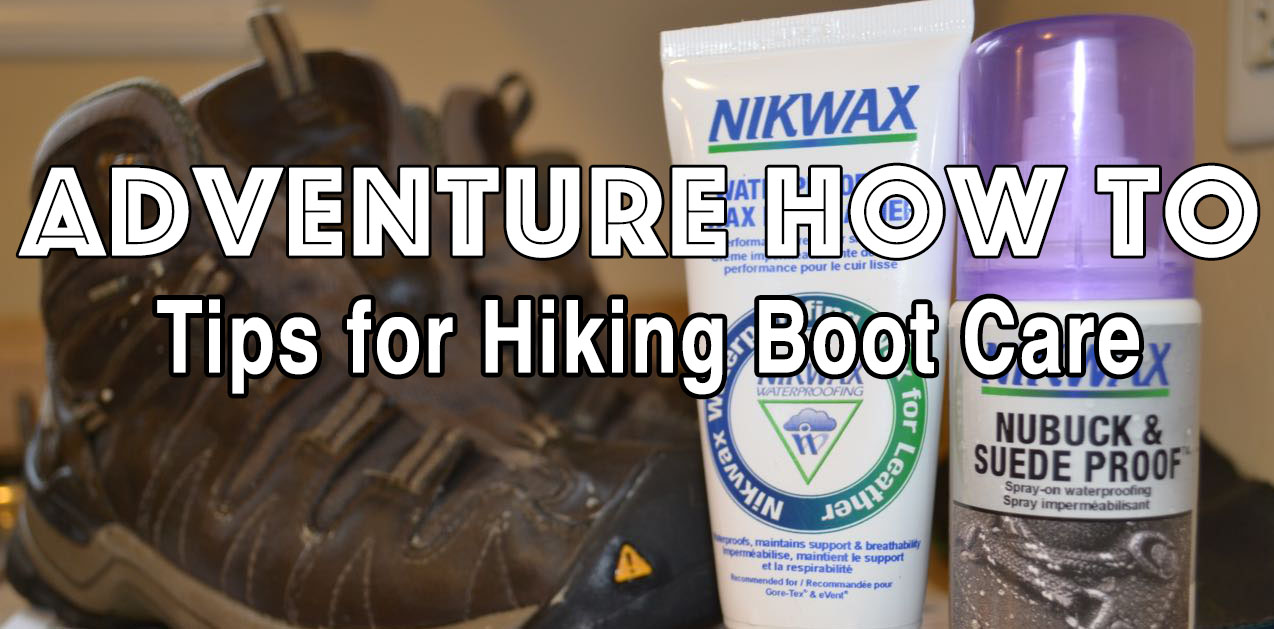
3 - Apply a waterproofing treatment - With the boots still damp, apply and even coat of Nikwax Waterproofing Wax or similar. Treatment varies depending on if your boots are leather or Gore Tex, follow the manufacturers recommendations for which product to use.
4 - Let them dry - Lay the upside down in a warm space but not next to direct heat and allow to dry thoroughly.
5 - Buff and remove excess treatment - Using a damp cloth in a circular motion, buff the excess wax and clean up the seams. *This applies to smooth leather + waterproofing wax only.
6 - Put your laces and insoles back in then go hiking!!


Now you should have your hikers in top shape to start the season. Doing regular maintenance and re-waterproofing as needed, your boots will stay in great shape longer and ultimately take better care of your feet while you’re out on adventures!
If you have a tip to share or a question, please leave a comment below.